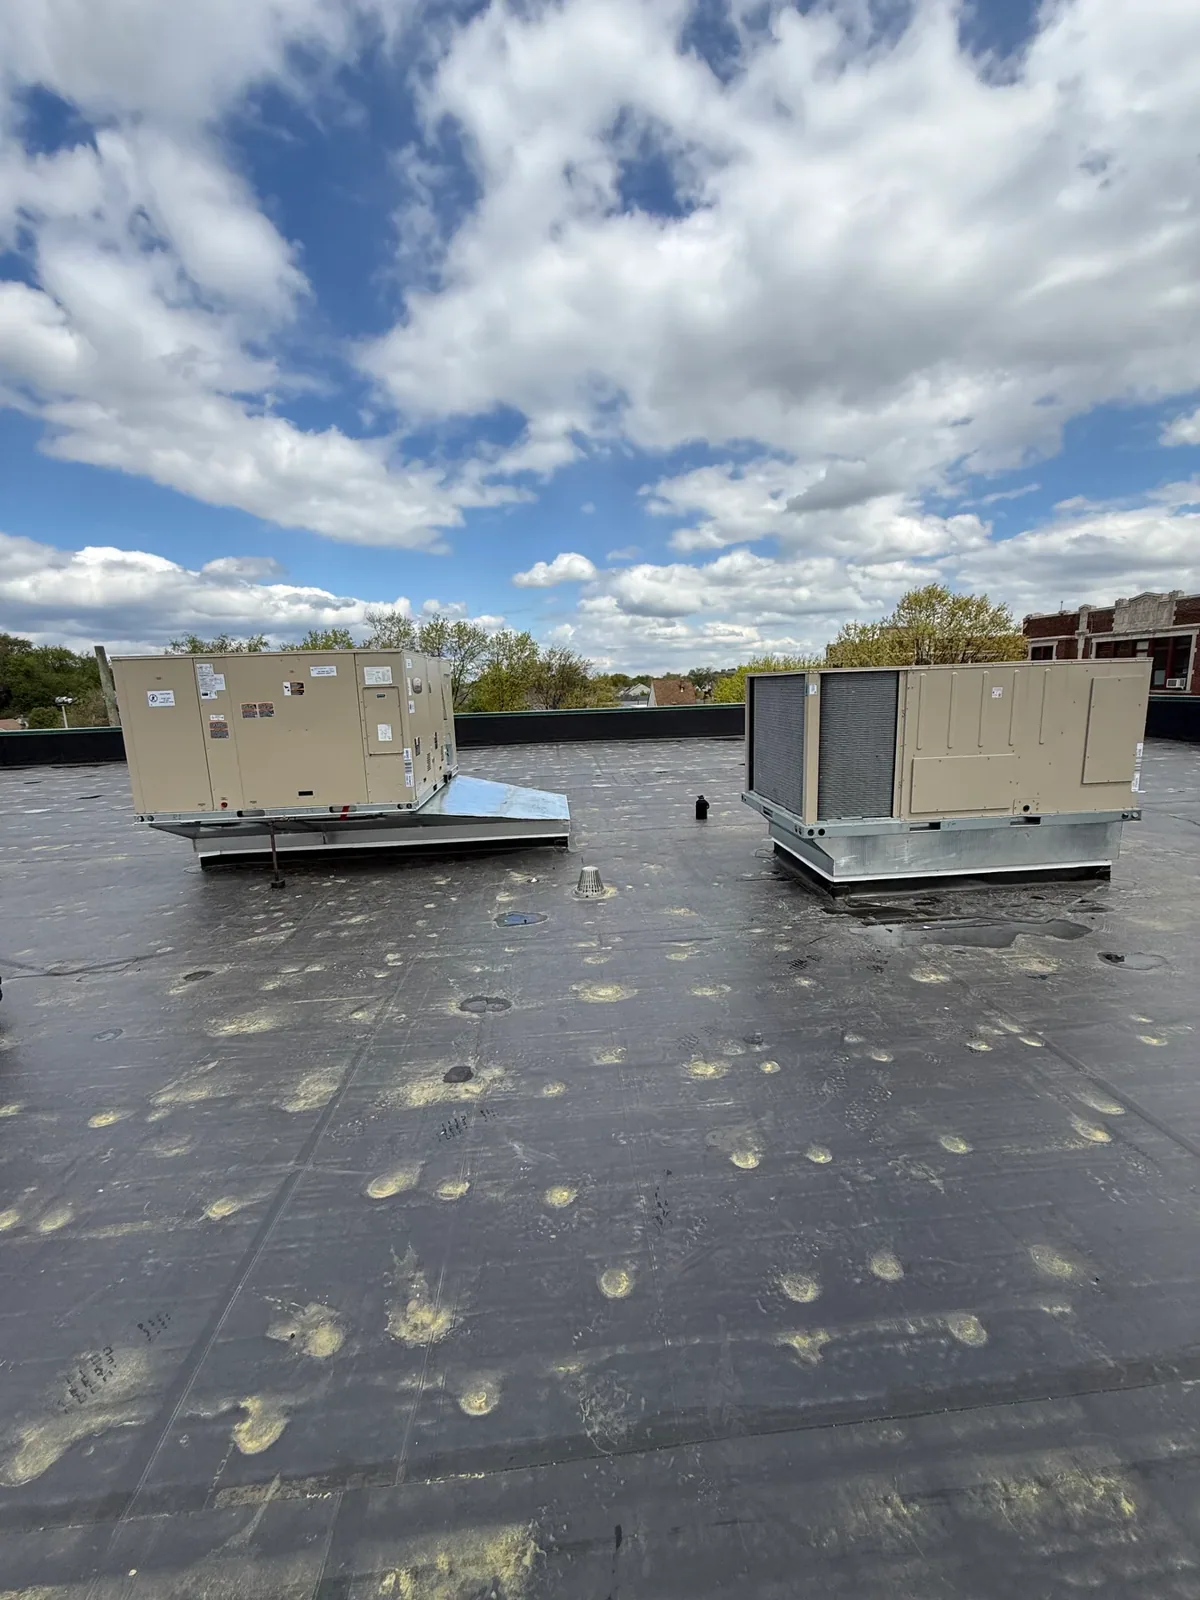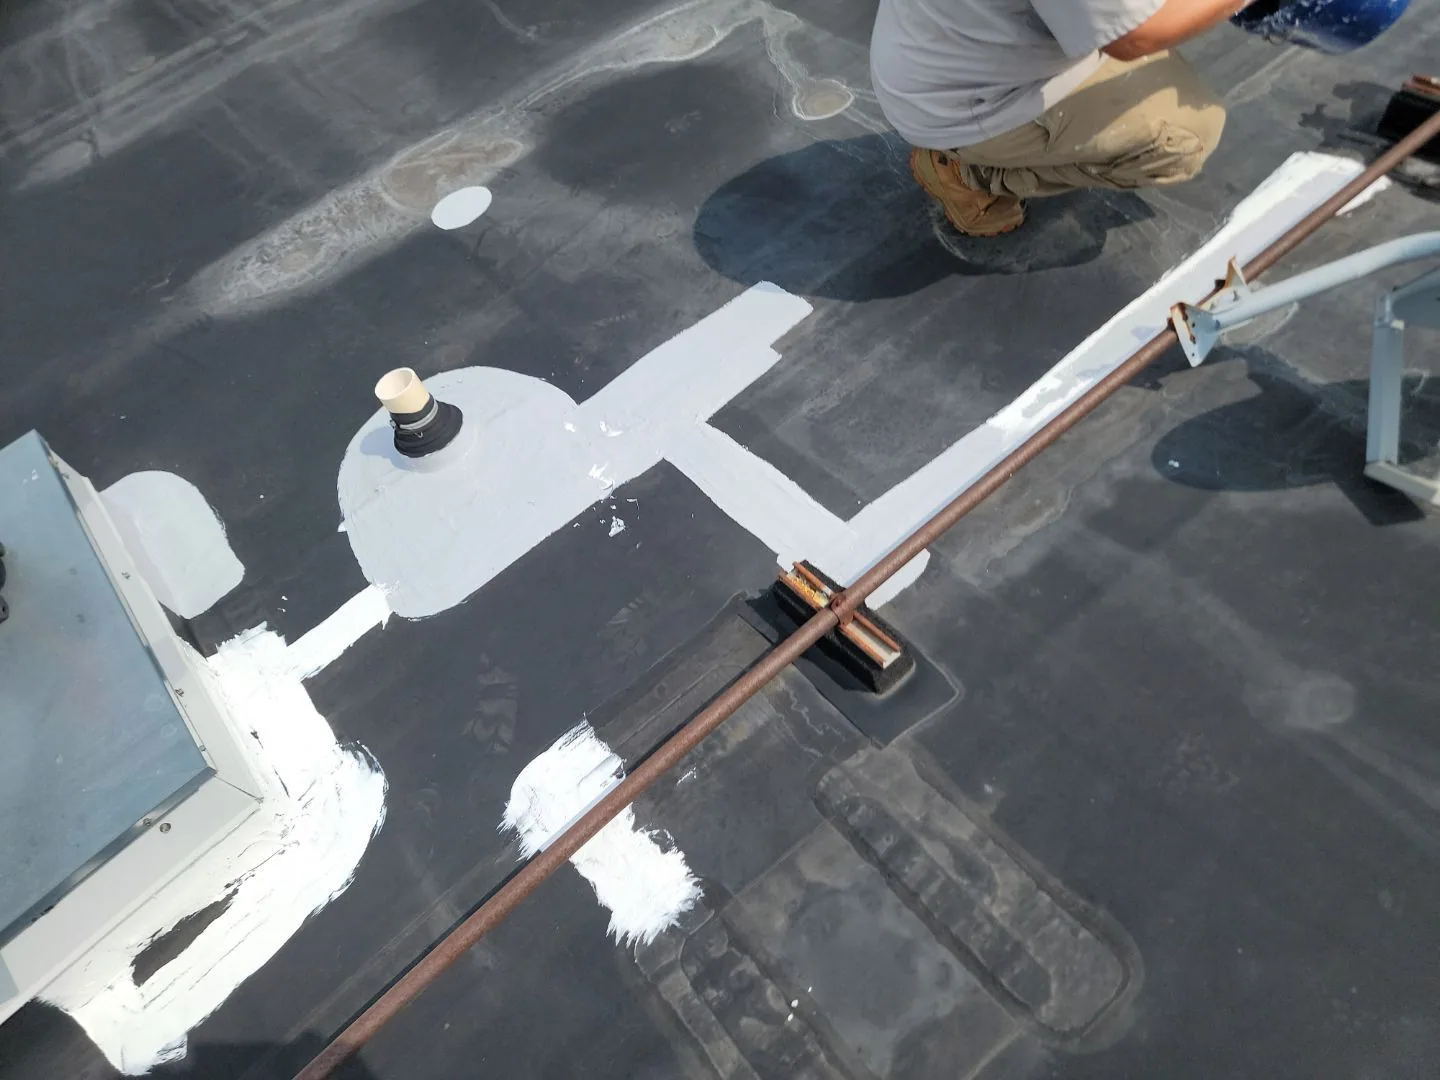
A loose curb flashing or open lap sets the first roof-walk point at a Manor commercial property. We inspect the membrane and adjoining detail, trace any reported water path, and mark the boundary before pricing work. Manor supports commercial, industrial, retail, health-care, and mixed-use projects. The building contact and actual roof assembly determine the work sequence.
The property contact identifies the roof access route, reported issue, available roof plan, and operating limits before we set the inspection sequence. We confirm the property access route, reported issue, available roof plan, and operating limits. A commercial roof inspection creates the field record.
Before the crew arrives, confirm the roof hatch or ladder, loading area, staging point, and contact responsible for the site. A retail entry, health-care operation, and industrial loading area each bring a different access route and work-hour constraint.
Mark where tools and materials can travel. If a lift is required, confirm its location and operating window with the property contact or general contractor. Keep fire access, delivery paths, and drains open. An interior check may help trace a leak, but schedule that access before opening the roof. A room the crew cannot reach stays outside the inspection boundary.
The first roof map records the route, seams, edges, curbs, drains, penetrations, and restricted zones. If another trade is working nearby, identify its equipment and tie-in boundary before roofing begins. A curb coordination review can record where the roofing scope meets mechanical work.
Start near the reported interior mark and inspect the roof above and uphill. Water may move along insulation, a seam, a deck flute, or a curb before it appears indoors. We compare the report with the roof surface, photograph observed openings, and mark any suspected path that still needs testing. A stain alone does not identify the failed detail.
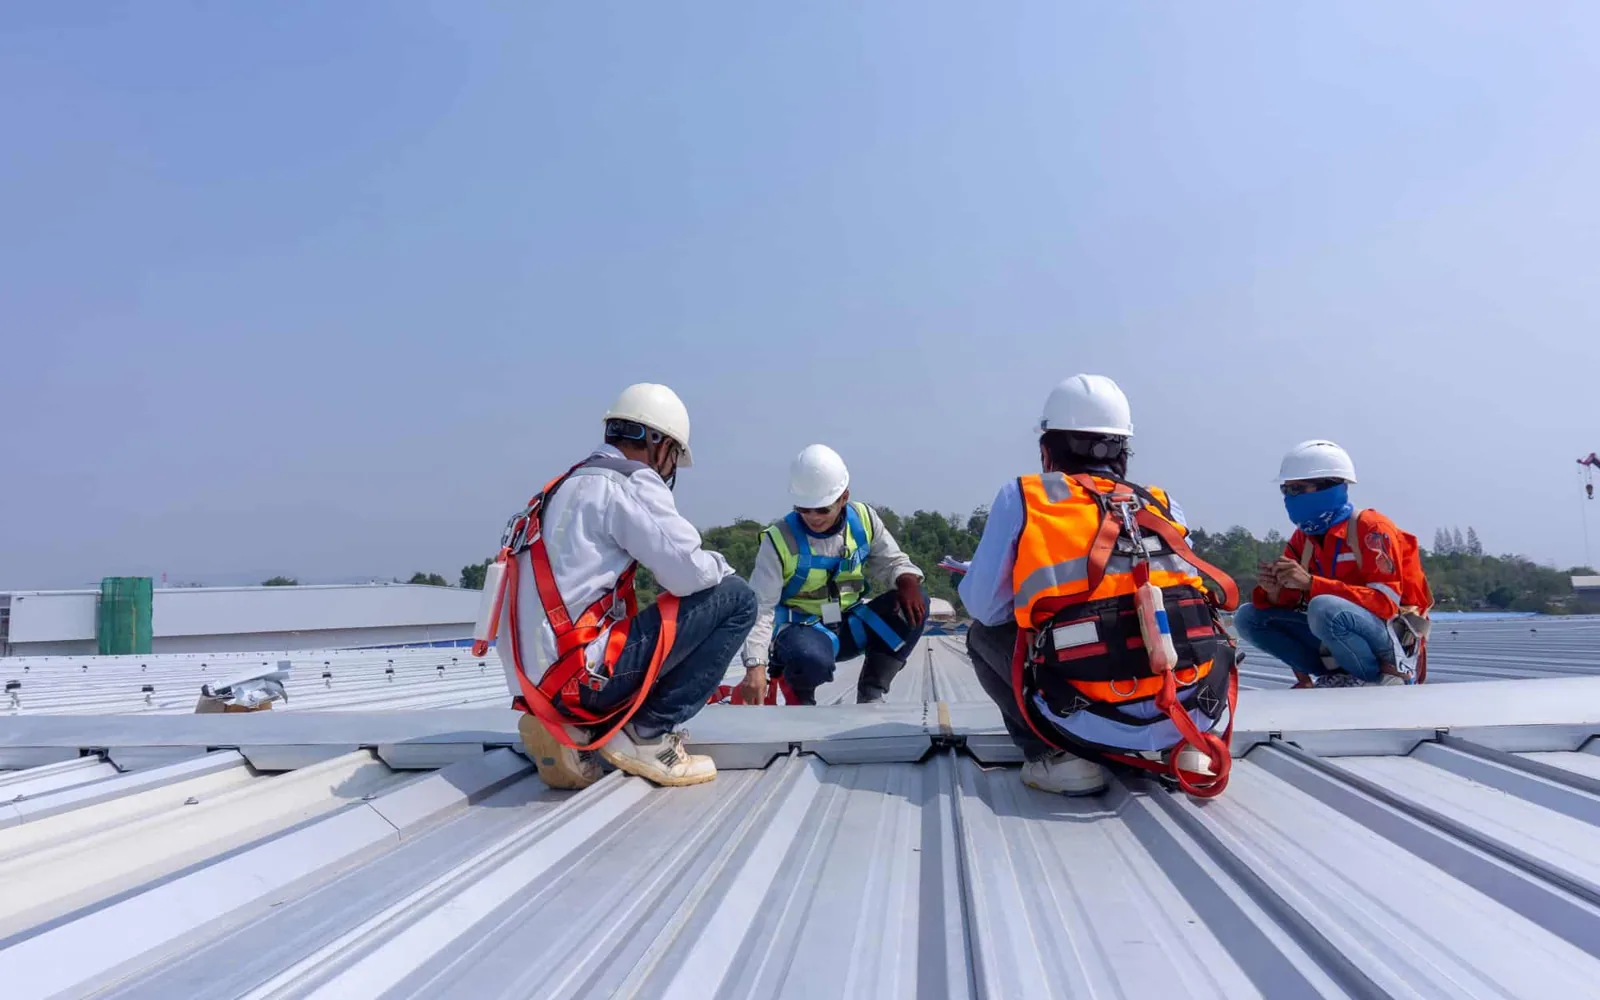
On a low-slope roof, inspect membrane laps, penetrations, flashing, edge metal, and drainage. On a metal roof, check panel seams, fasteners, closures, and transitions. The building’s records and exposed details help identify the system. If the assembly remains unclear, stop before selecting repair materials and define a test area.
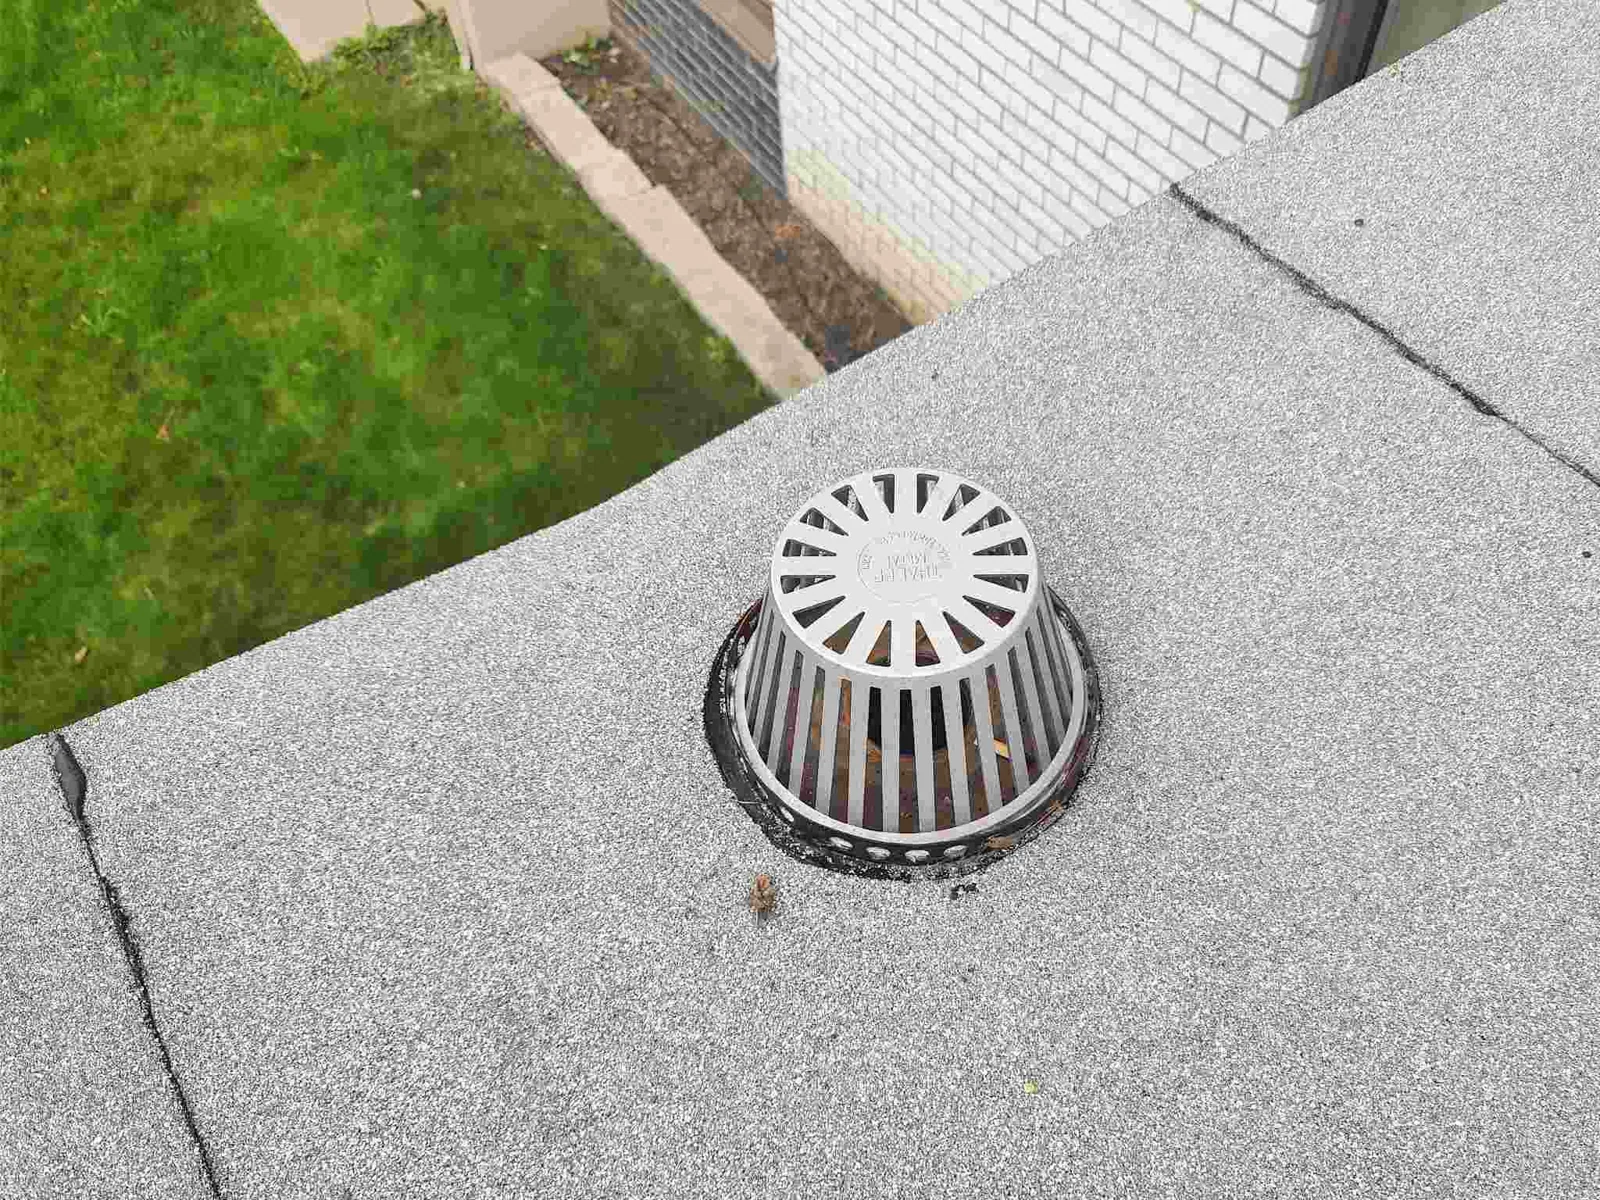
A drain and scupper inspection can separate outlet maintenance from a membrane or flashing repair.
If insulation may be wet, identify what needs to be opened and what the test should confirm. Infrared readings can help select a test location, but the opening verifies the assembly. The report separates visible surface conditions, confirmed wet material, and areas left untested. Each finding gets its own roof-zone reference.
Commercial and industrial projects can have deliveries, equipment activity, and restricted hours. Retail and mixed-use properties may need clear public access. Health-care work may require a specific route through occupied areas. The property contact confirms which access rules and operating limits apply to the building.
Before temporary protection or a test cut, identify who can approve it and how the interior will be protected. Mark any open area, hold point, and return condition. The general contractor should know where the crew plans to stop at the end of a shift. A leak repair visit can begin with the affected zone and preserve other roof areas until they are inspected.
For a roofing visit, confirm current arrival instructions, delivery timing, and any restrictions with the property contact. Do not assume that a planned street connection creates access to a private roof or staging yard. Record any site limit before materials are unloaded.
For another property in the region, keep separate records by building. A Georgetown service-area visit follows that property’s roof plan and operating rules. A Round Rock inspection has its own contact and access boundary. Nearby work can share a calendar without sharing roof findings.
Georgetown summer afternoons commonly reach the 90s, with recent days above 100°F. For a Manor project, we check the surface and product range at the roof before setting the work window.
Central Texas has hail exposure, and a 2022 tornado track crossed Williamson County. After severe weather, inspect for punctures, open laps, displaced edge metal, and damaged flashings where found. A regional event does not prove damage at a Manor building. The field report records current conditions and any area not reached. A storm inspection keeps physical findings apart from the event date.
Before opening a roof, confirm the forecast, access route, materials, and dry-in sequence. If the weather window changes, secure the exposed area at a defined edge. Mark whether protection is temporary and what remains to finish. A return crew needs the test result and tie-in point, not only a note that the roof was left safe.
A single open lap or failed curb detail may support a local correction if surrounding material is sound. Several leak reports, saturated board, fastener back-out, or a soft deck can make a patch too narrow for the observed failure. We show which finding supports each option and identify any test still needed to set a quantity.
A repair scope separates membrane work from access, interior protection, staging, and testing. Before proposing an overlay, we test the substrate, confirm how many layers are present, and verify that the perimeter can accept a safe termination. A surface product cannot correct water trapped below the membrane. The proposed work should match the assembly and field condition.
A replacement review maps removal, new insulation, drain transitions, equipment curbs, tie-ins, and occupied-hour phases when the assembly has reached the end of its serviceable life. The project team confirms applicable local review. We describe the roof alteration and interface so the general contractor can align design, permits, and field sequencing.
Cost and duration depend on access, system type, repair area, preparation, material availability, weather, and test results. If concealed conditions change the plan, stop at a hold point and review the finding before adding work. That protects the approved boundary and keeps a hidden layer from turning into an unreviewed quantity.
Closeout records the roof zone, system identified, materials used, photos, test results, and remaining work. Separate temporary dry-in from permanent repair. List areas not inspected and the access needed for another visit. If an equipment trade owns a change, mark its interface and the person who will coordinate the return tie-in.
Keep each property map, repair history, and inspection date with the building it describes. The access route, roof records, and field condition set the service plan. A dated report can preserve the field baseline for maintenance or a later replacement decision.
Give us the project address, work-hour limits, and the contact who controls roof access. We will plot the walk and identify the first test or repair hold point. If water is actively entering, emergency response remains available overnight, on weekends, and holidays. The handoff shows what was protected and what still needs correction.
We confirm access, identify the roof system where visible, follow the reported leak, and inspect connected seams, drains, curbs, and edges. The map shows what was reached.
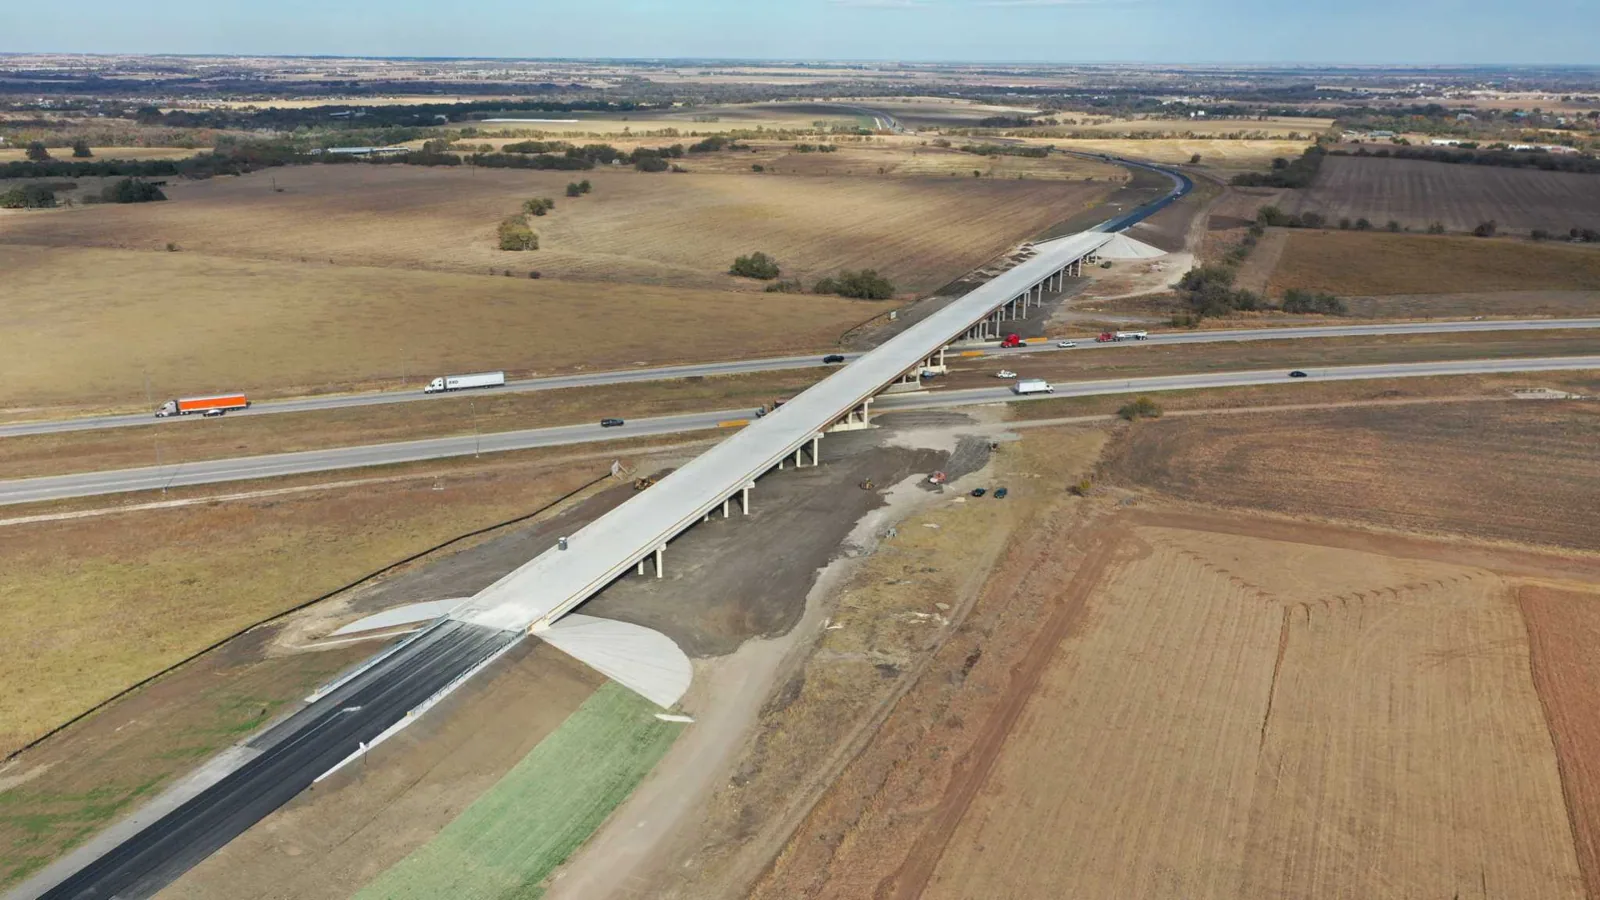
No. They provide commercial and transportation context. Roof type and condition come from the building’s records and field inspection.
Yes. We set the access route, work hours, public protection, and material staging with the property contact before opening the roof.
No. The inspection records physical conditions found at the property. A regional event helps with timing, not proof of building damage.
Wet insulation, deck damage, hidden layers, access limits, or a failed test area can change the scope. We stop at a hold point and review before expanding work.